New in Svippit: your logo in your store
Add a logo under Appearance. It shows in your store, in the store overview, in shared links and in the order confirmation, and the same file works in Vipps.
Your store can now have its own logo. It shows on your store page, in the store overview and in the email the customer gets after buying. The logo is optional and takes a couple of minutes to add.
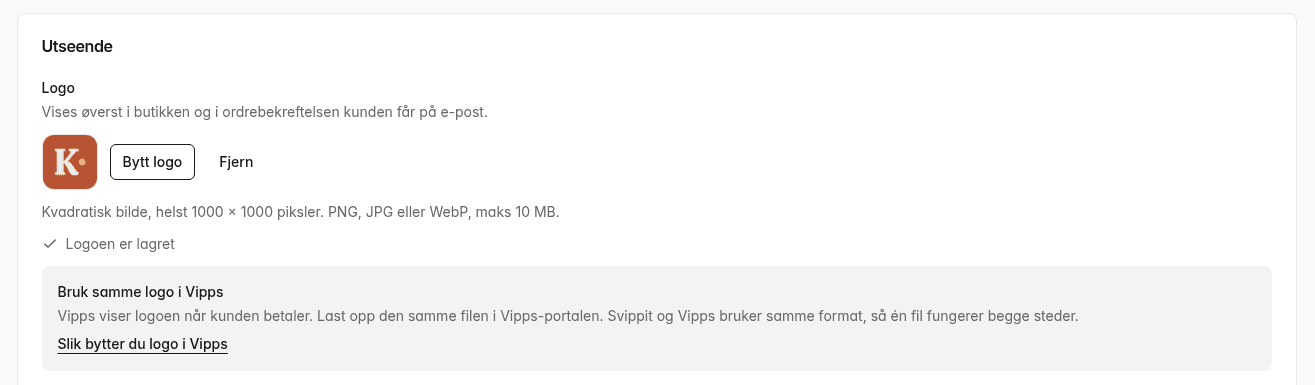
How to add your logo
- Choose your store, go to Settings and find Appearance.
- Tap Upload logo and pick an image. PNG, JPG and WebP work, up to 10 MB.
- Drag and zoom until the logo sits the way you want, then tap Save logo.
The logo is shown as a square. A square image of 1000 × 1000 pixels gives the best result, and the image must be at least 100 × 100 pixels. To change it later, tap Replace logo.
Where the logo shows
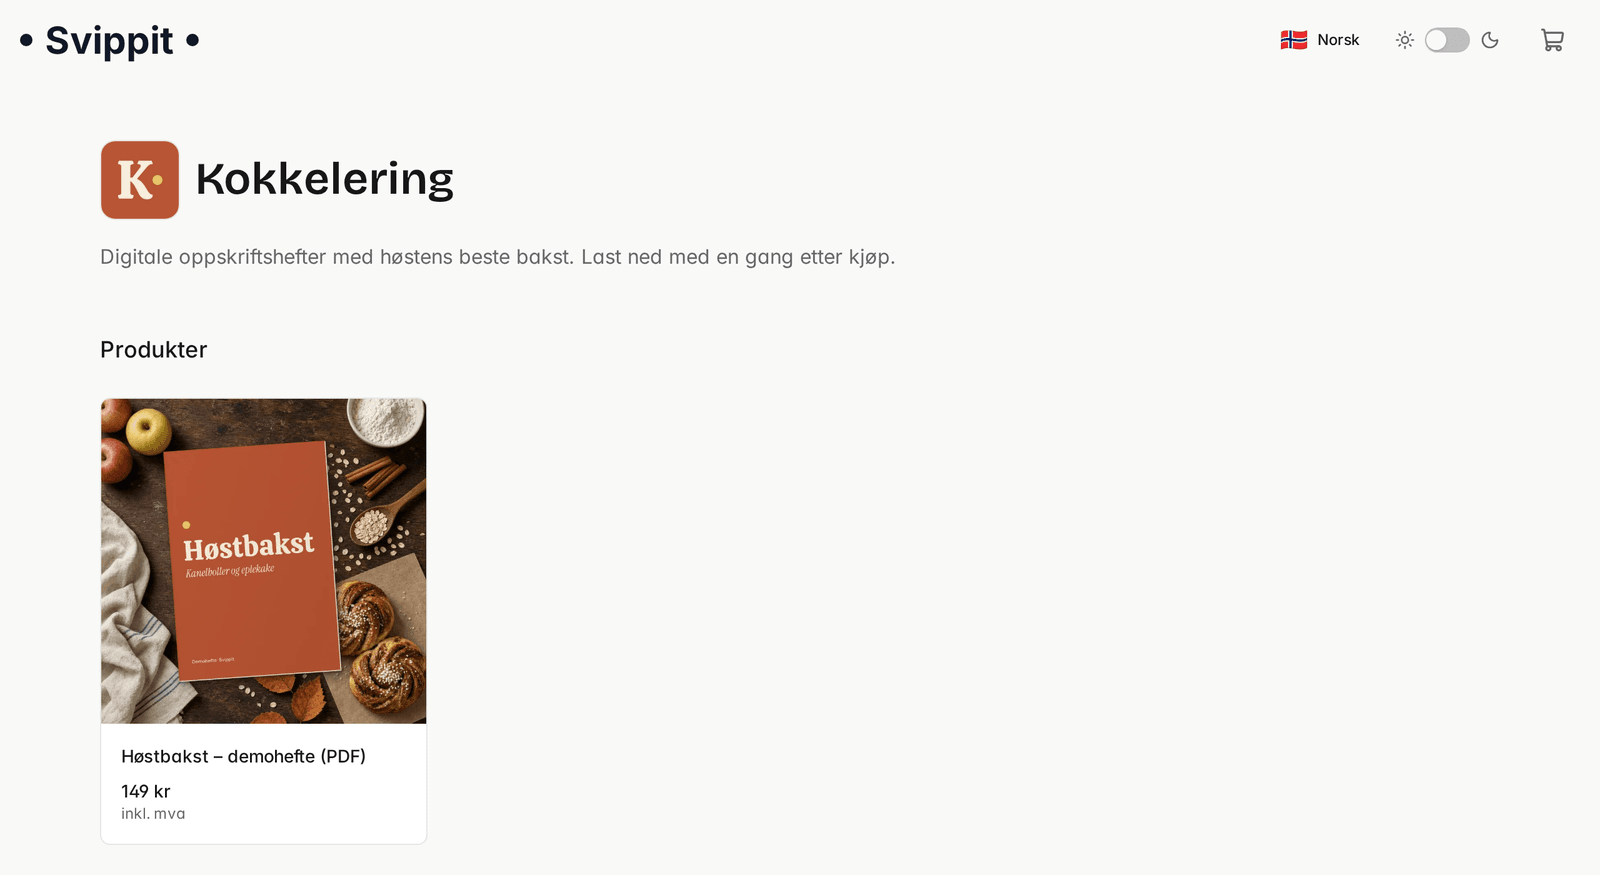
- Your store page. The logo sits next to the store name at the top.
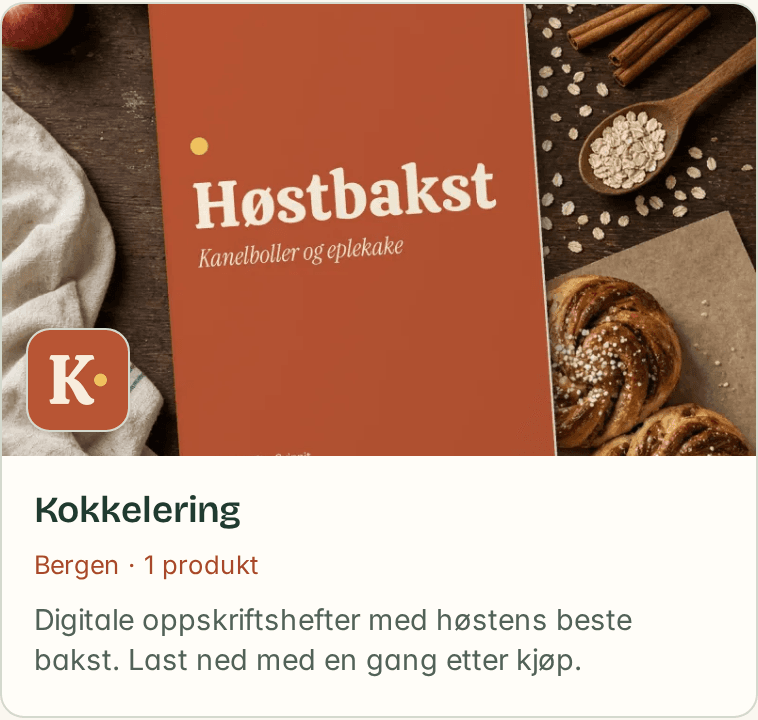
- The store overview. The cards at svippit.com/s show the logo. Stores without a logo get the first letter of their name instead.
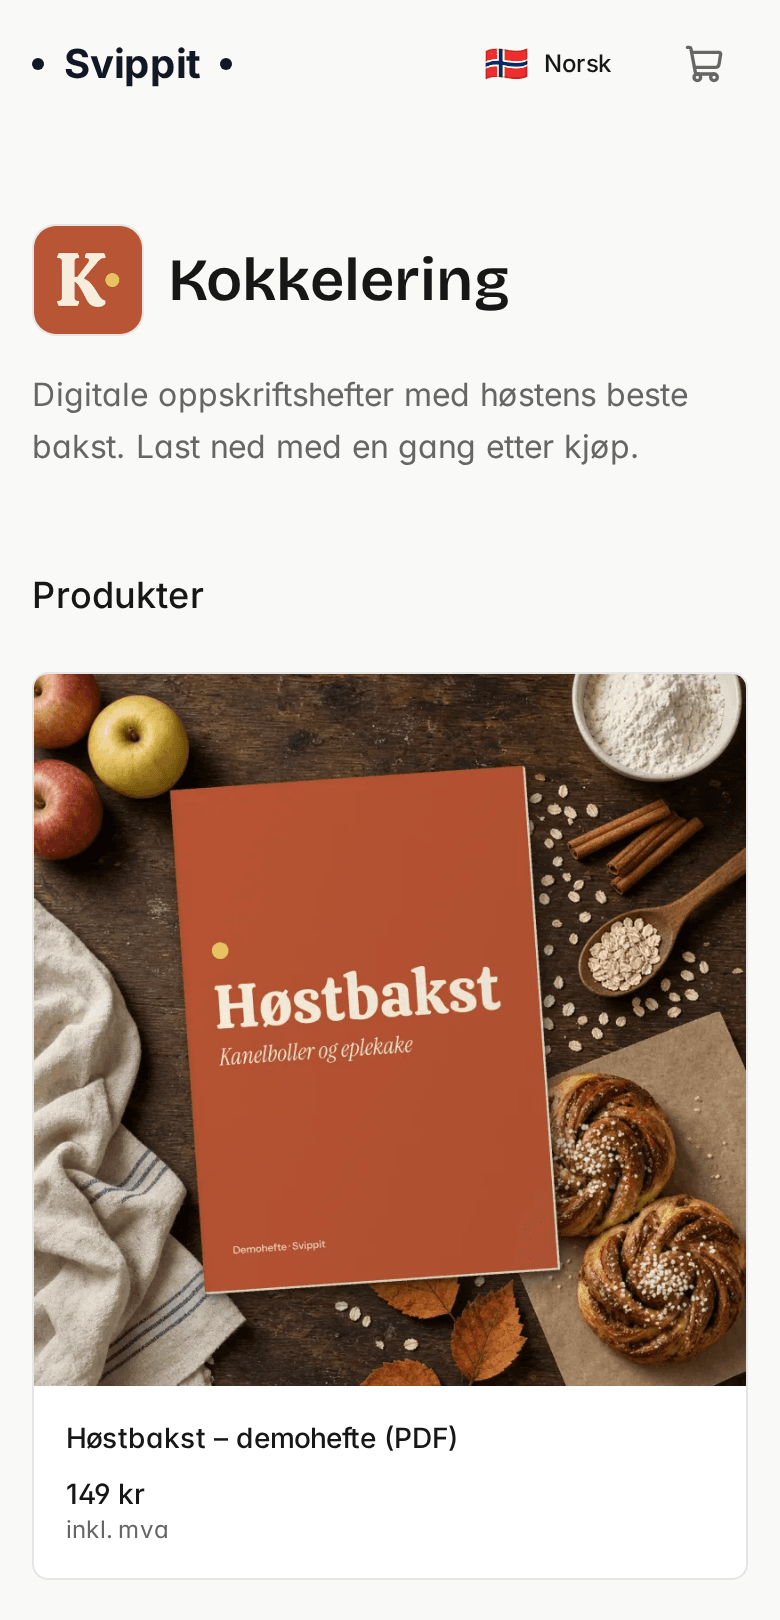
- Shared links. When someone shares a link to your store, the logo is used as the preview image. The same goes for products that have no photo of their own.
- The order confirmation. The customer sees the logo at the top of the email after buying.
Use the same logo in Vipps
Vipps now shows all business logos as squares when the customer pays. That is why Svippit uses the same square format, so one logo fits both places. According to Vipps, a proper logo makes the payment look safer and more professional, and businesses with a logo convert better than those without.
You add the Vipps logo in the Vipps business portal. Svippit cannot change it for you, so this step is yours:
- Log in to the business portal and go to your sales unit.
- Tap Edit under "What your business looks like in Vipps".
- Upload your logo, adjust it to the square format and save.
Vipps wants the logo as a PNG. If you make it a square PNG of 1000 × 1000 pixels, you can use the same file in Svippit and in Vipps. Vipps also has a short guide.
Haven't applied for Vipps yet? Add the logo in Svippit first, and it is sent along with your application.